Welcome to Pro Boat!
//////////
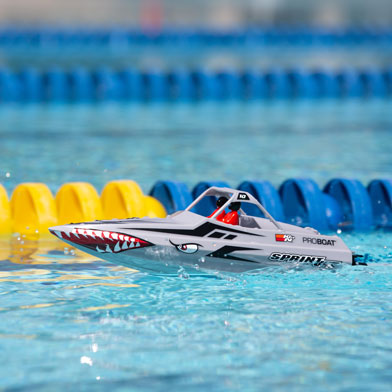
Shop Hull Size
Large or small, every Pro Boat radio control boat delivers phenomenal performance with head-snapping style. Pro Boat has compact RC boats ideal for fun runs in your backyard pool, as well as bigger, more powerful boats that are burning to go full-throttle across your local lake or pond. Pro Boat has you covered with the right RC boat for wherever the water is waiting!
//////////
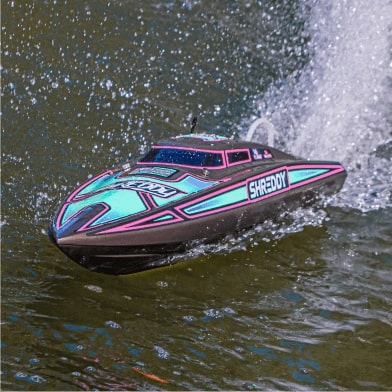
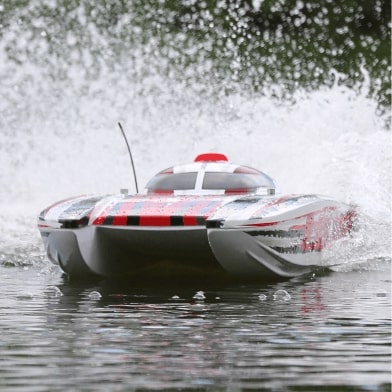
Shop Hull Type
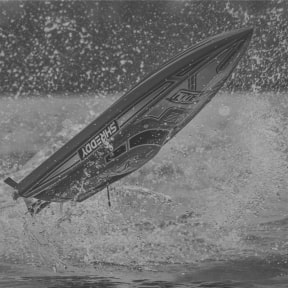
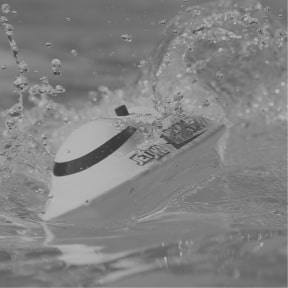
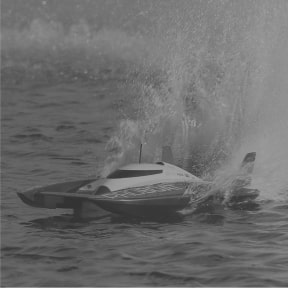
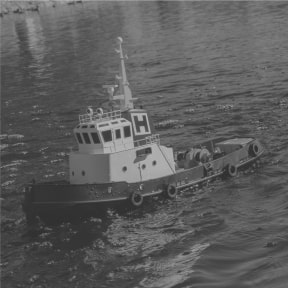
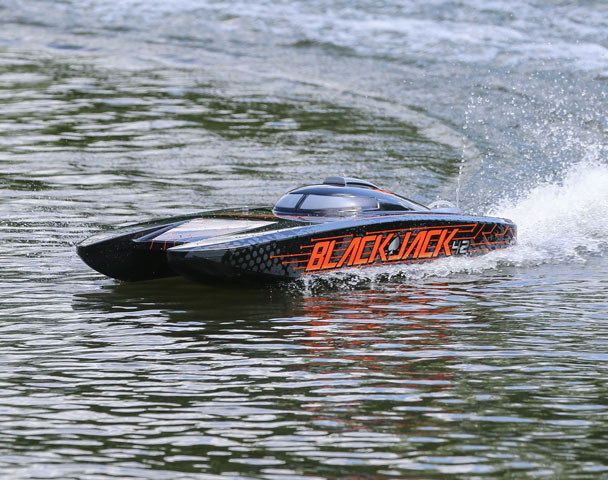
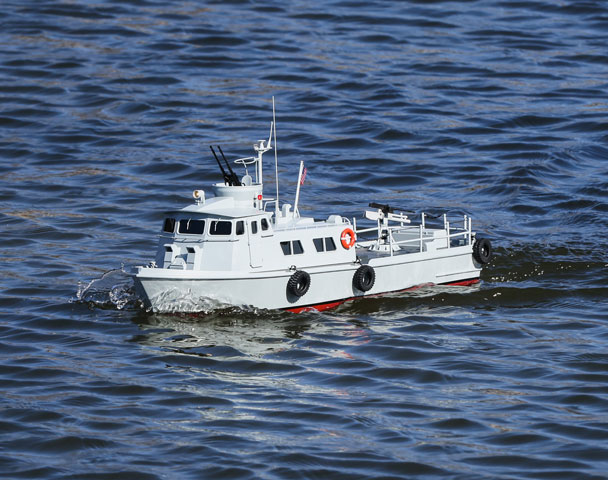
The sculpted hulls of our radio control boats cut smoothly through the water to deliver the ultimate adrenalin rush. Hull types range from scale, to V-hulls, to catamarans, each having its own unique handling characteristics — just like their 1:1 counterparts. Find an RC boat with the perfect style and performance for you among the many choices at Pro Boat.
//////////
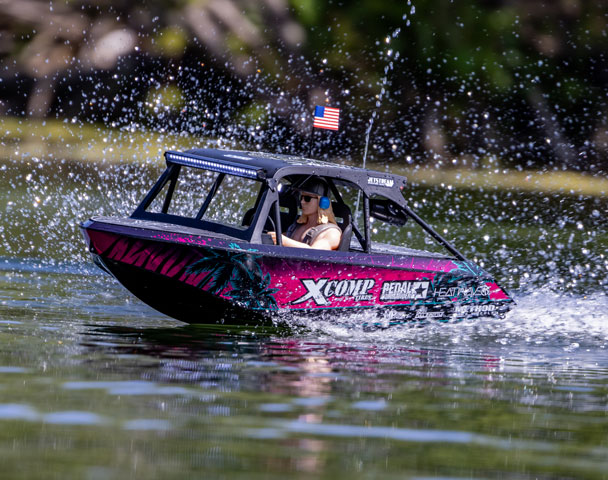
Pro boat Life
Pro Boat is more than a brand of radio control boats. It’s a community of boating enthusiasts like you who share a passion for the boating lifestyle. Smash that “Like” button, subscribe, and follow all of our social media channels to stay up-to-date on everything Pro Boat.